


Can I really install a 240-volt outlet at home for my electric vehicle? Many electric vehicle owners ask this question when they are looking to install an efficient home charging station. The good news is that it can! Installing a 240-volt outlet is not only feasible, but it's one of the best ways to ensure fast and reliable charging of your electric vehicle at home. Whether you're using an AC EV charger or upgrading your current setup, here's a simple guide to help you step through the installation process.
Why Do You Need a 240 Volt Outlet for Your Electric Car?
A 240-volt outlet, also known as a Level 2 charger, is essential for EV owners who want to charge their vehicles faster than what a standard 120-volt outlet (Level 1) can offer. With a 240-volt outlet, you can:
-
Reduce Charging Time: A 240V outlet can charge your EV up to 5 times faster than a standard 120V outlet, allowing you to fully charge your car overnight or even in a few hours.
-
Increase Convenience: Faster charging means you don’t have to worry about whether your car will be ready when you need it. This is especially important if you drive long distances regularly.
-
Improve Efficiency: Charging your vehicle more efficiently can lead to better battery health and potentially lower electricity costs, as you can take advantage of off-peak electricity rates.
See also: The Difference between Level 1 & 2 EV Chargers
What Are the Prerequisites for Installing a 240 Volt Outlet?
Before you begin the installation, it’s important to ensure that your home is equipped and ready for a 240-volt outlet.
-
Electrical System Requirements: Check your home’s electrical panel to determine if it has enough capacity to handle the additional load. You may need a panel with at least 200 amps of service, depending on the demands of your household and the EV charger.
-
Permits and Codes: Depending on your location, you may need a permit to install a 240-volt outlet. Be sure to check local building codes and obtain any necessary permits before starting the installation.
-
Tools and Materials: Gather the necessary tools and materials, including a 240-volt outlet, the appropriate gauge wire, a double-pole circuit breaker, a conduit, and a junction box. Having everything on hand before you start will make the process smoother.

Where Should You Install the 240 Volt Outlet?
The optimal location for installing a 240-volt outlet for your electric vehicle (EV) is in your garage, specifically on the wall closest to where you park your car. Here’s why this spot works best:
-
Protection from the Elements: Installing the outlet in your garage shields it from weather conditions such as rain, snow, and extreme temperatures. This not only prolongs the life of the outlet but also ensures that your charging process is uninterrupted and safe, regardless of the weather outside.
-
Security and Accessibility: A garage installation provides a secure environment for your EV charger, protecting it from potential theft or damage. Mounting the outlet on the wall near your vehicle ensures that it’s always within easy reach. You can simply plug in your car when you park without the hassle of dragging a cable across long distances.
-
Convenient Charging: With the outlet in close proximity to your vehicle, charging becomes a seamless part of your routine. Most Level 2 chargers come with cables that range from 15 to 25 feet in length, so positioning the outlet on the wall near where your car’s charging port aligns makes daily use effortless.
-
Future-Proofing: If you plan to add more EVs to your household or install additional electrical equipment, having the outlet in a garage makes it easier to upgrade or expand your setup. The central location within your home’s electrical system also simplifies any future electrical work.
If you don’t have a garage, the next best option is to install the 240-volt outlet on an exterior wall close to your parking spot. Here’s how to ensure this is still an effective setup:
-
Use a Weatherproof Enclosure: Since the outlet will be exposed to the elements, it’s crucial to protect it with a NEMA-rated weatherproof enclosure. This will safeguard the outlet from moisture, dust, and debris, ensuring safe and reliable operation.
-
Close Proximity to Parking: Position the outlet as close as possible to where you park, ensuring that your charging cable can reach your car easily without needing to stretch across long distances or obstacles.
-
Safety Considerations: Make sure the outlet is installed in a location that minimizes exposure to water and is elevated to avoid potential flooding. Additionally, if your parking area is publicly accessible, consider adding a lockable cover to prevent unauthorized use of the outlet.
In summary, the garage is the best place for your 240-volt outlet due to its security, convenience, and protection from the elements. If a garage isn’t available, an outdoor installation can work effectively with the right precautions, ensuring you have a reliable and efficient charging setup for your electric vehicle.
How Do You Install a 240 Volt Outlet for Your Electric Car?
Installing a 240-volt outlet involves several steps, and safety should be your top priority.
-
Turn Off the Power: Before you begin, turn off the main power supply to avoid any risk of electrocution.
-
Plan the Circuit: Determine the best route for the wiring from your electrical panel to the outlet location.
-
Install the Circuit Breaker: Add a double-pole circuit breaker to your electrical panel that matches the amperage required for your EV charger (usually 30-50 amps).
-
Run the Wiring: Use conduit to run the wiring from the panel to the outlet location. Make sure the wire gauge is appropriate for the amperage.
-
Install the Outlet: Connect the wires to the 240-volt outlet, following the manufacturer’s instructions. Secure the outlet in a junction box and mount it on the wall.
-
Test the Installation: Once everything is connected, turn the power back on and test the outlet with a multimeter to ensure it’s delivering the correct voltage.

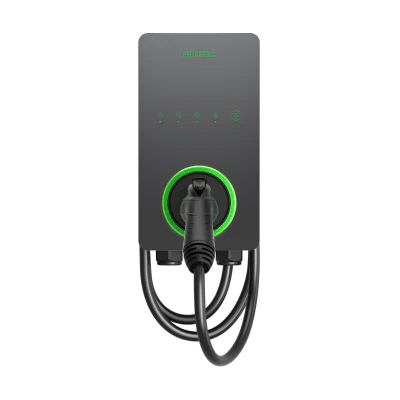
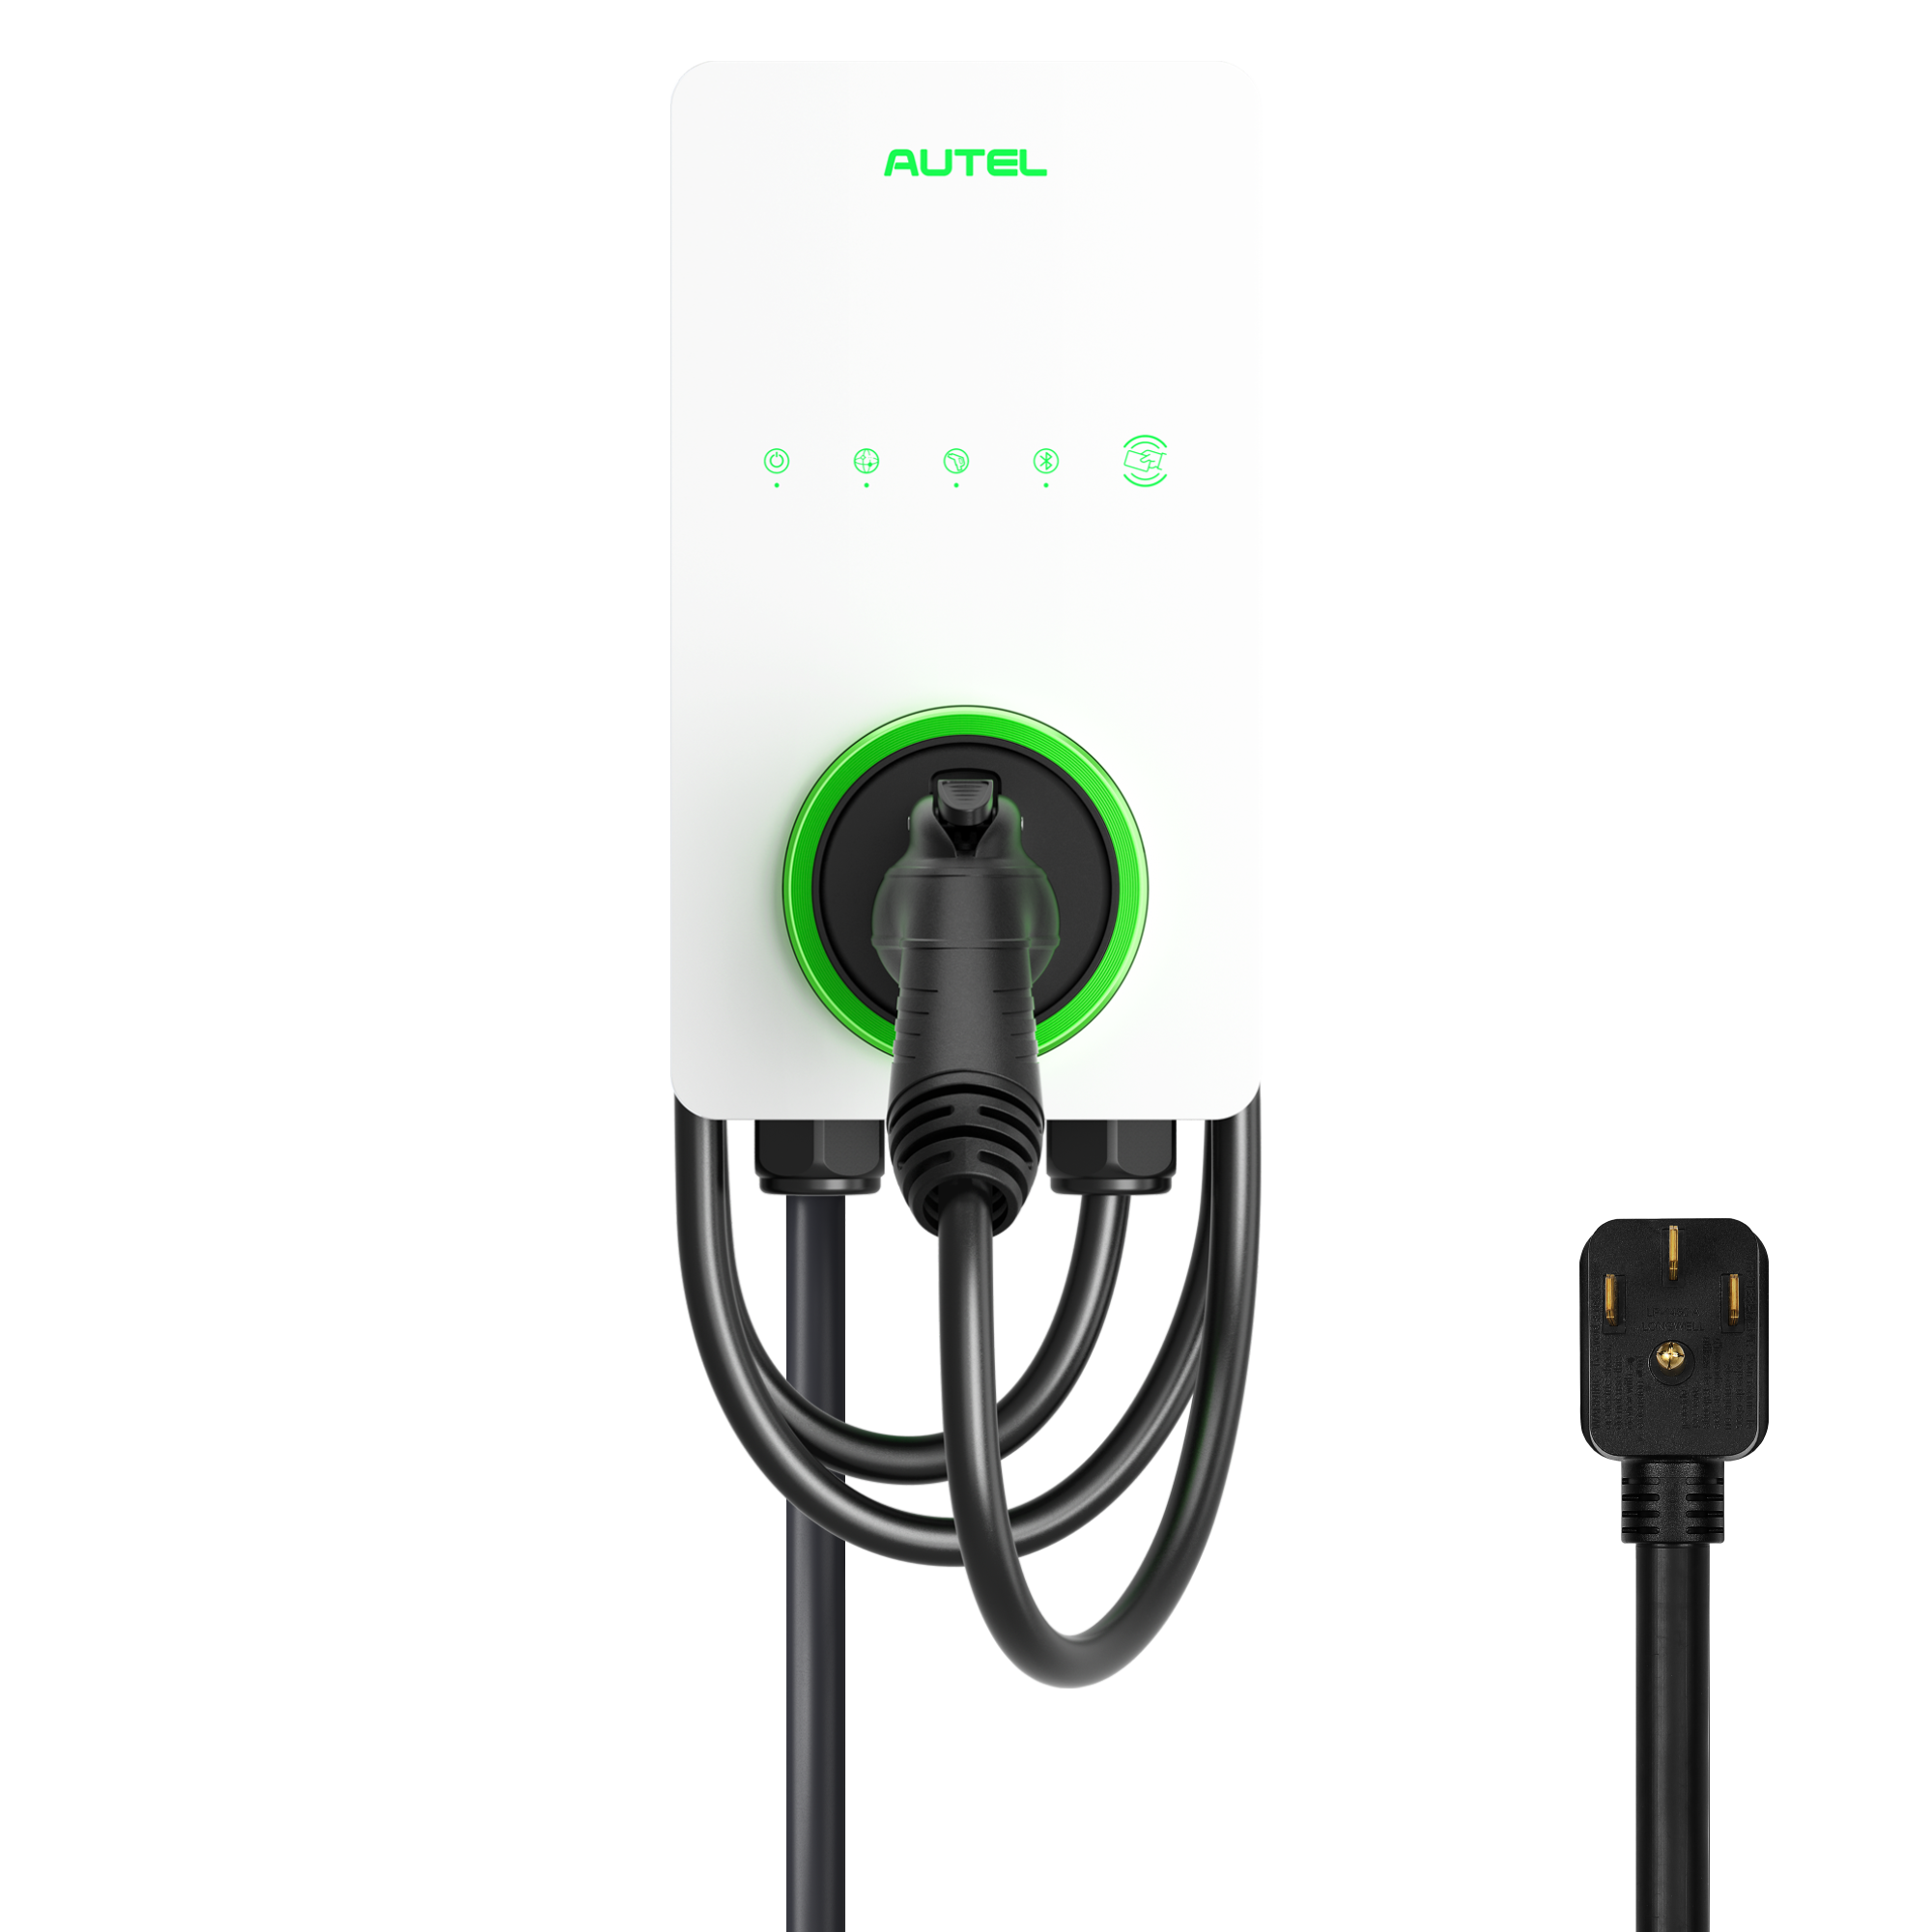
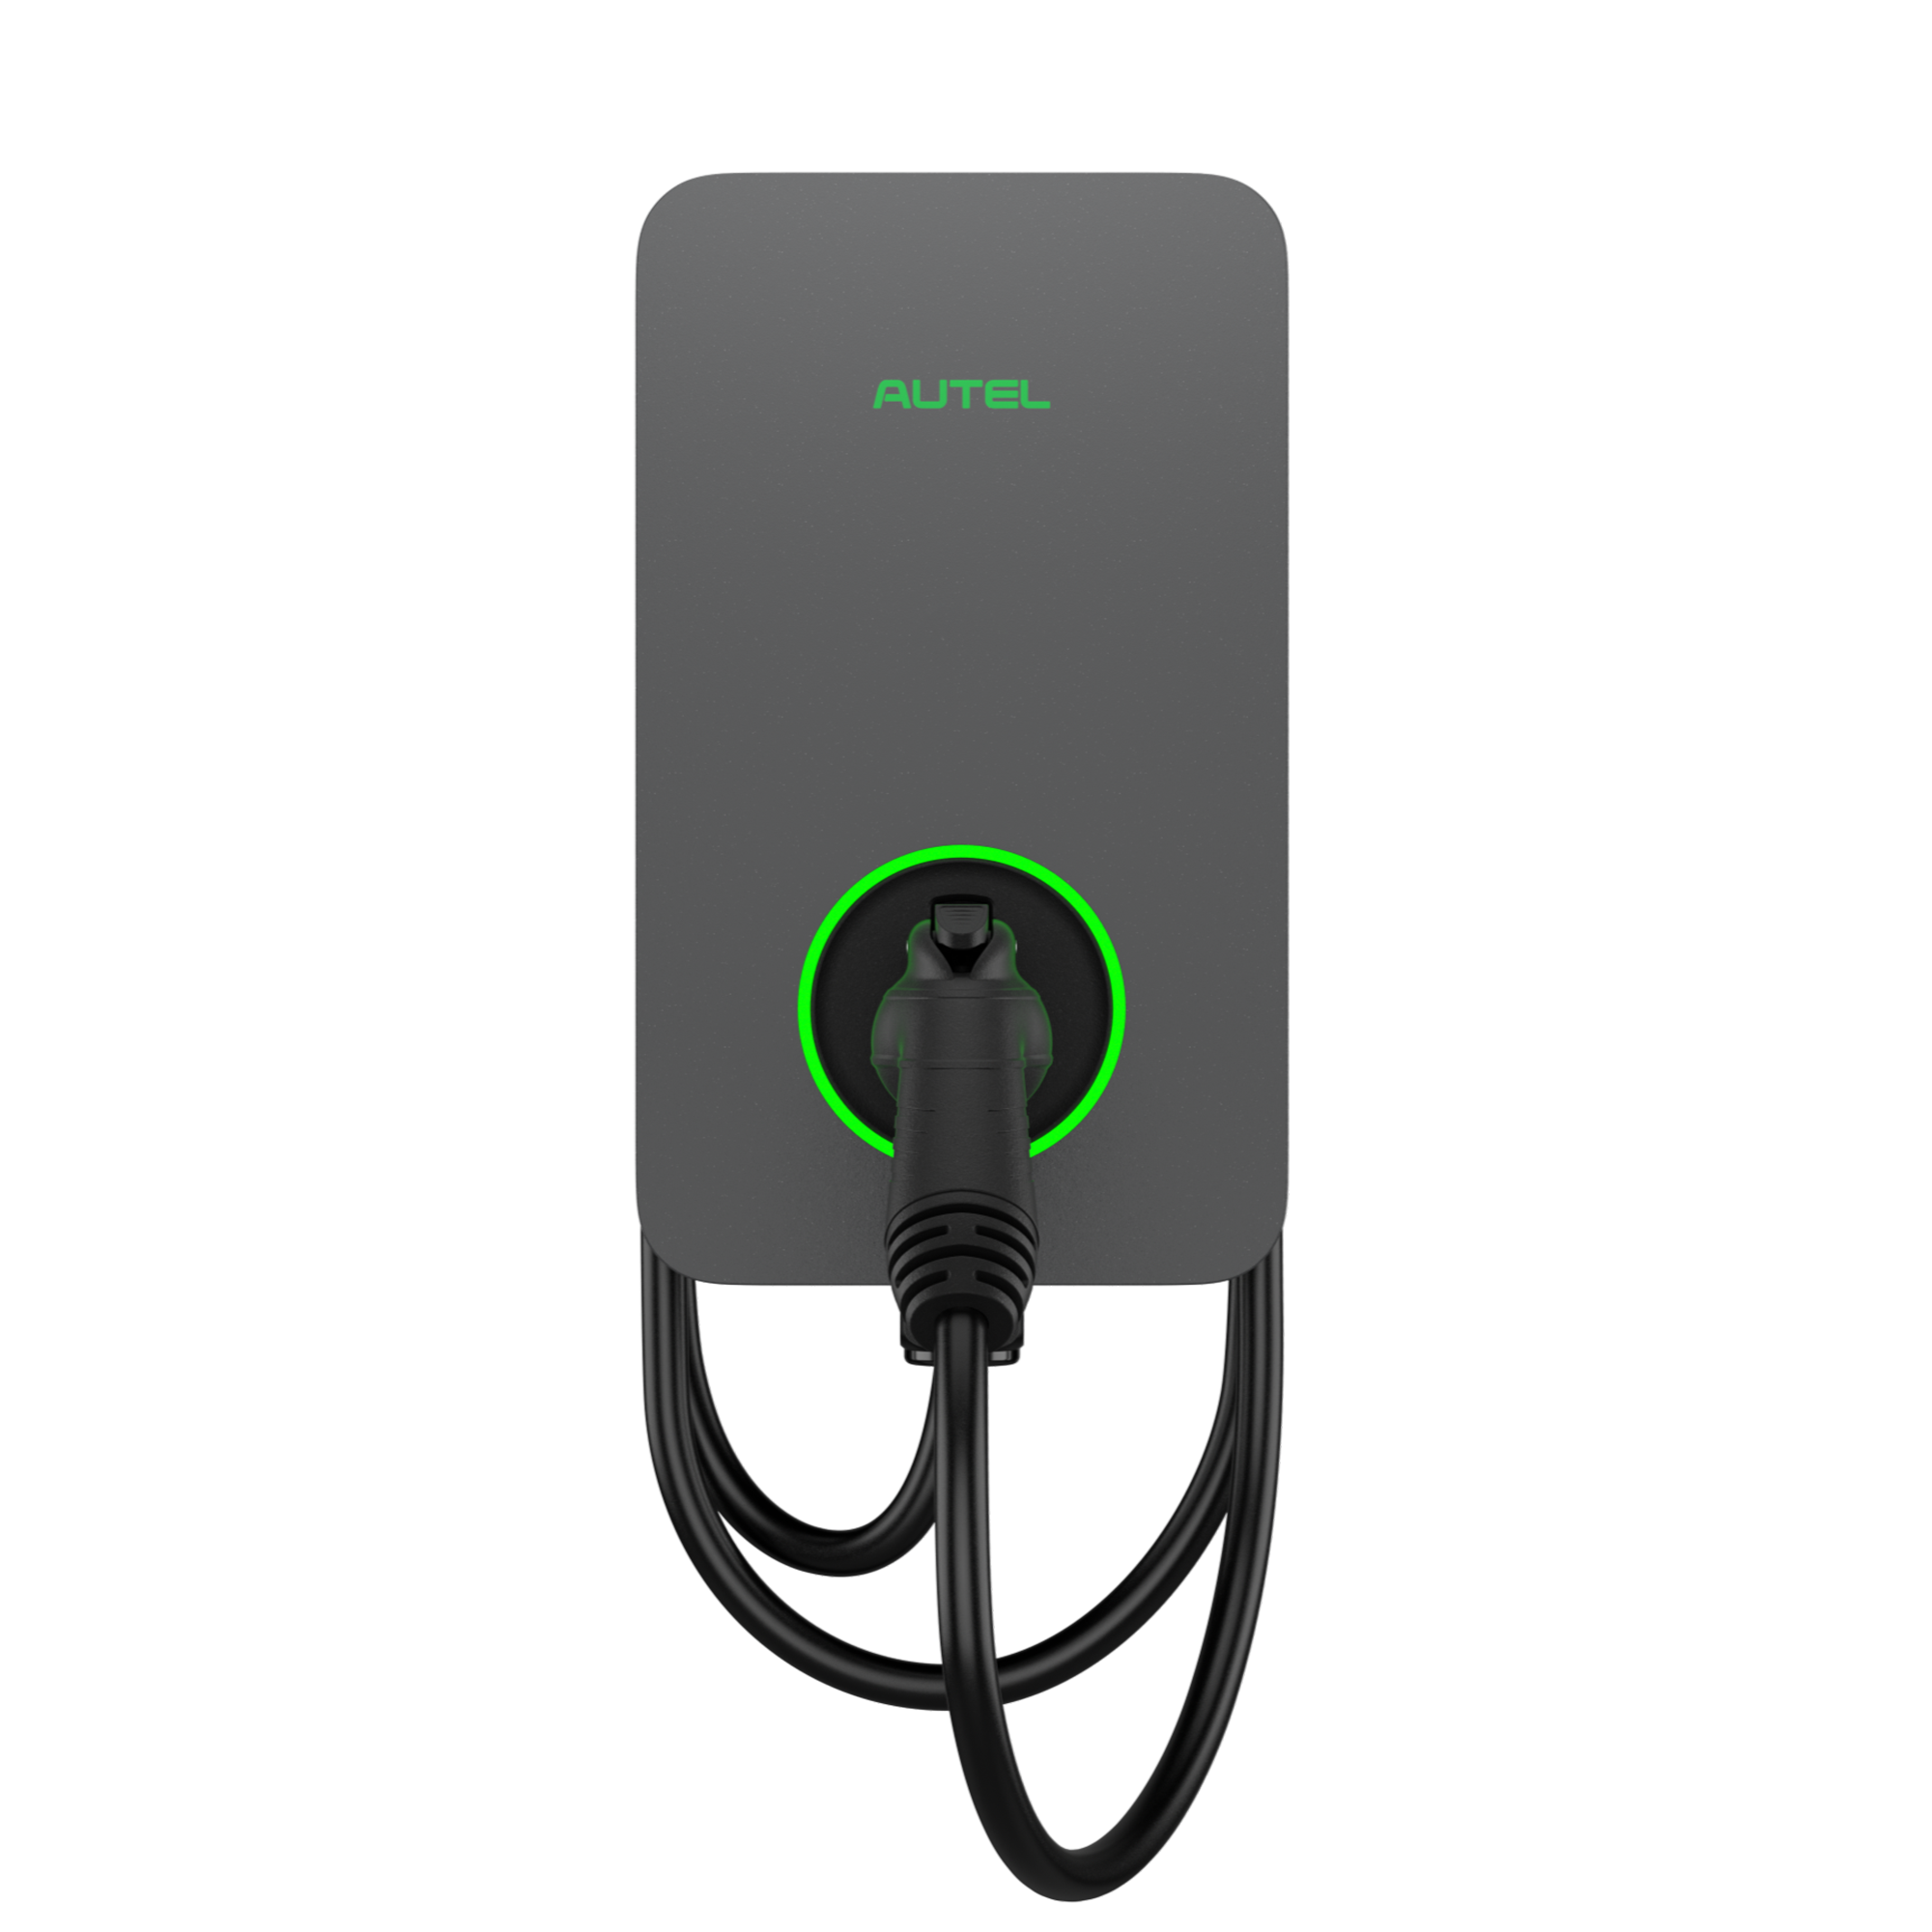
When setting up EV charging at home, it’s important to choose products that are both easy to install and reliable. Autel offers a range of home EV charging stations that meet these criteria. Their AC EV chargers are designed for straightforward installation, making them a great choice for homeowners looking to establish efficient and dependable charging solutions.
With Autel products, you can confidently set up your 240-volt outlet knowing that your charging station will perform consistently and safely. Whether you’re new to EV charging or upgrading your existing setup, Autel’s chargers are an excellent investment for your home.
Explore more about Autel's home EV charging stations here.
How Much Does It Cost to Install a 240 Volt Outlet?
The cost to install a 240-volt outlet for your electric car typically ranges from $300 to $1,500, depending on factors such as the complexity of the installation, the materials needed, and whether you hire a professional or opt for a DIY approach. Material costs include the outlet itself, a double-pole circuit breaker, wiring, and possibly conduit and a junction box. These materials generally cost between $100 and $400. If you decide to hire an electrician, labor costs can add another $200 to $1,000 to the total, depending on the difficulty of the installation and local labor rates. Additionally, you may need to budget for permits and inspections, which can range from $50 to $200.
While a DIY installation might save you money, it’s important to consider the risks involved. If you lack experience with electrical work, mistakes could lead to safety hazards or costly repairs. Hiring a licensed electrician, though more expensive, ensures that the installation is done safely, complies with local codes, and functions properly. Ultimately, the investment in a 240-volt outlet can provide significant long-term benefits, including faster charging times and the convenience of having a reliable charging solution at home.
Conclusion
Installing a 240-volt outlet for your electric car is a smart investment that can significantly enhance your EV ownership experience. Not only does it reduce charging times, but it also adds convenience and efficiency to your daily routine. By following the steps outlined above and considering whether to DIY or hire a professional, you can ensure a safe and effective installation that meets your charging needs.
FAQs
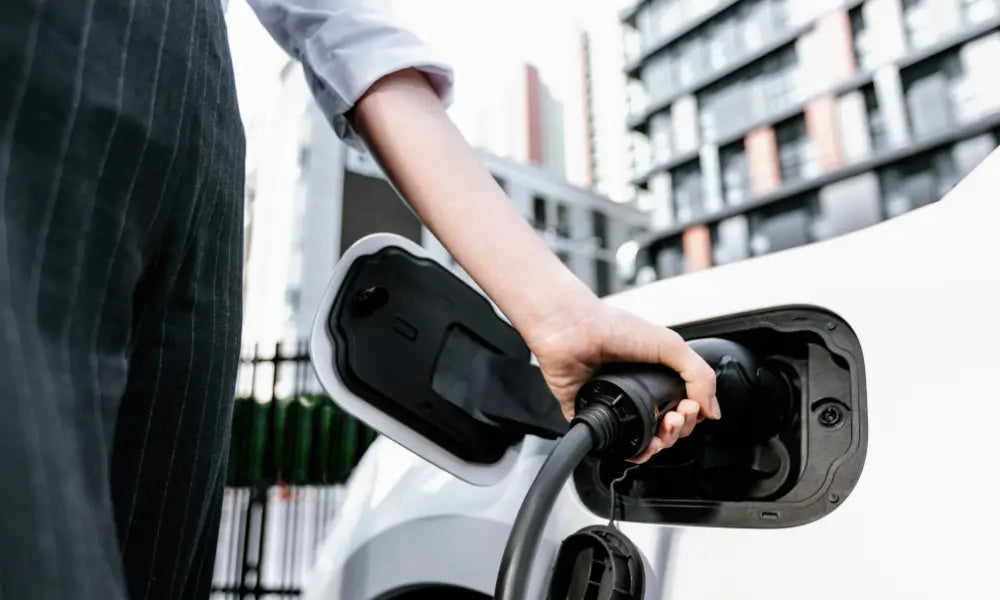
Can You Install an Electric Car Charger at Home?
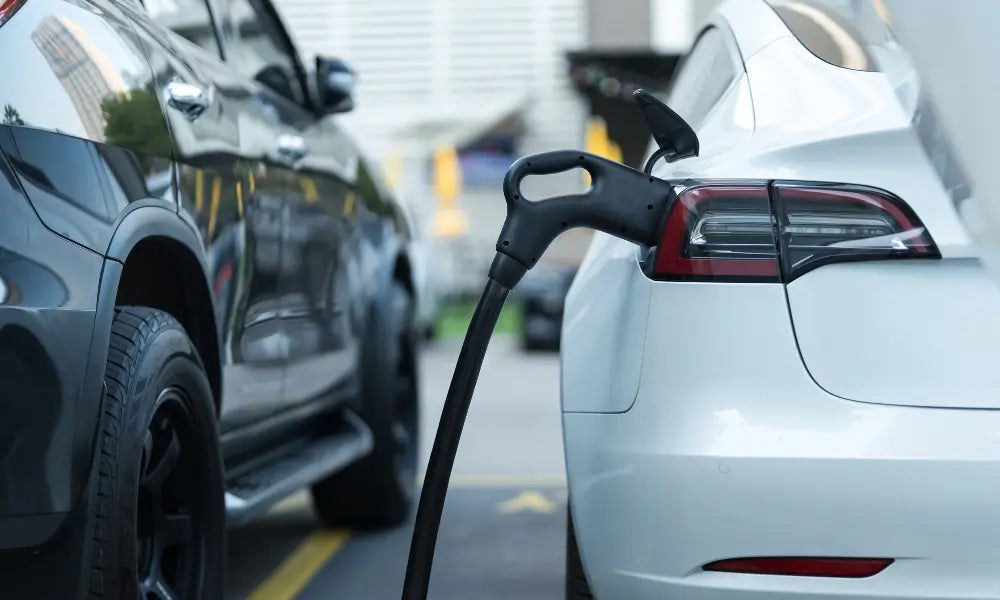
Absolutely, you can install an electric car charger at home, and it's a popular choice for many EV owners who want the convenience of charging their vehicle overnight. Home installation typically involves setting up a Level 2 charger, which requires a 240-volt outlet. This setup allows for much faster charging than using a standard 120-volt outlet, making it easier to keep your EV fully charged and ready to go.
However, the installation process may require some electrical upgrades, such as adding a dedicated circuit or even upgrading your electrical panel if your home’s current setup isn’t sufficient. While the actual charger installation can be straightforward, it’s important to consider the safety and technical requirements. For this reason, many people choose to hire a licensed electrician to handle the installation, ensuring it meets all safety codes and operates correctly. This approach not only provides peace of mind but also ensures your EV charger will function efficiently for years to come.
Cost to Install 240V Outlet for Tesla?
The cost to install a 240V outlet specifically for a Tesla typically ranges from $300 to $1,500, depending on several factors:
-
Materials: The cost of materials includes the 240V outlet (such as a NEMA 14-50, which is commonly used for Tesla vehicles), a double-pole circuit breaker, the appropriate gauge wiring, and conduit. These materials usually cost between $100 and $400, depending on the quality and the distance the wiring needs to cover.
-
Labor Costs: If you hire a licensed electrician, labor costs can range from $200 to $1,000. This depends on the complexity of the installation, such as the distance from your electrical panel to the outlet location, any required upgrades to your electrical system, and local labor rates.
-
Permits and Inspections: In some areas, you may need to obtain permits and have the installation inspected to ensure it complies with local electrical codes. Permit and inspection fees typically range from $50 to $200, though this can vary based on location.
-
Tesla-Specific Considerations: Tesla vehicles come with a mobile connector that can be plugged into a NEMA 14-50 outlet, so no special equipment beyond the standard 240V outlet is required. However, if you opt for a Tesla Wall Connector instead, this could increase the cost by an additional $500 to $700, including installation.
In summary, the total cost for installing a 240V outlet for a Tesla can vary widely, but most homeowners can expect to pay between $300 and $1,500, with professional installation ensuring the safest and most reliable setup.
Leave a comment
All comments are moderated before being published.
This site is protected by hCaptcha and the hCaptcha Privacy Policy and Terms of Service apply.